This is the beginning of my C# development series of articles. As such, i will make a classic “Hello, World” example application.
I am going to use Microsoft Visual Studio 2019 Community edition to write and compile my C# code. Right now it’s free for everyone and if you’re on Windows, i recommend downloading and installing it - it will make your life a lot easier. You can download it from here. If you are on Mac, there is a Visual Studio version for that. If you’re on Linux - you can download Visual Studio Code from the same page.
When installation is finished and you start Visual Studio, you will be presented one of the following launcher screens:
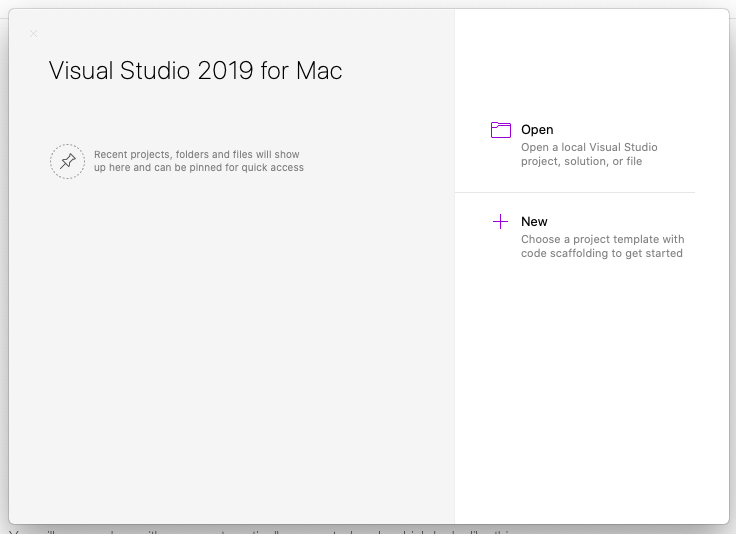
Launcher for Visual Studio on MacOS
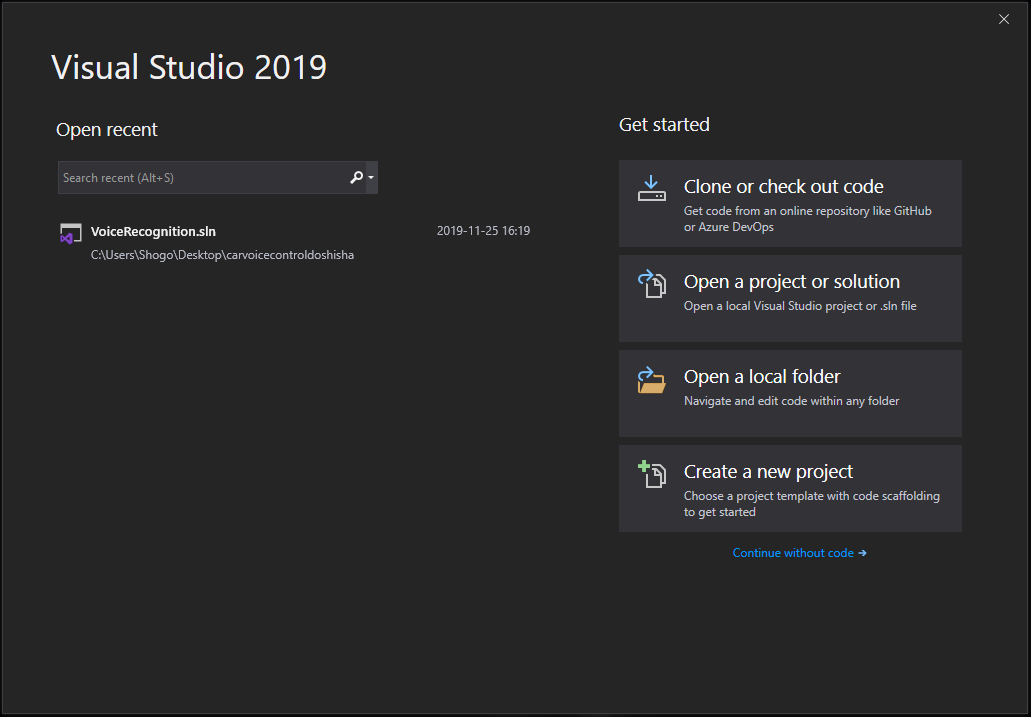
Launcher for Visual Studio on Windows
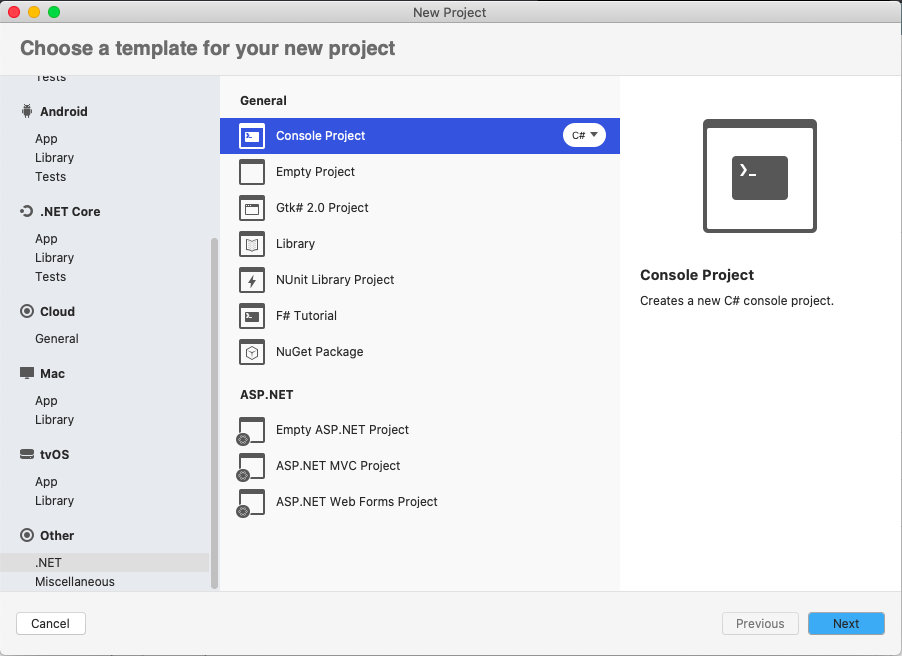
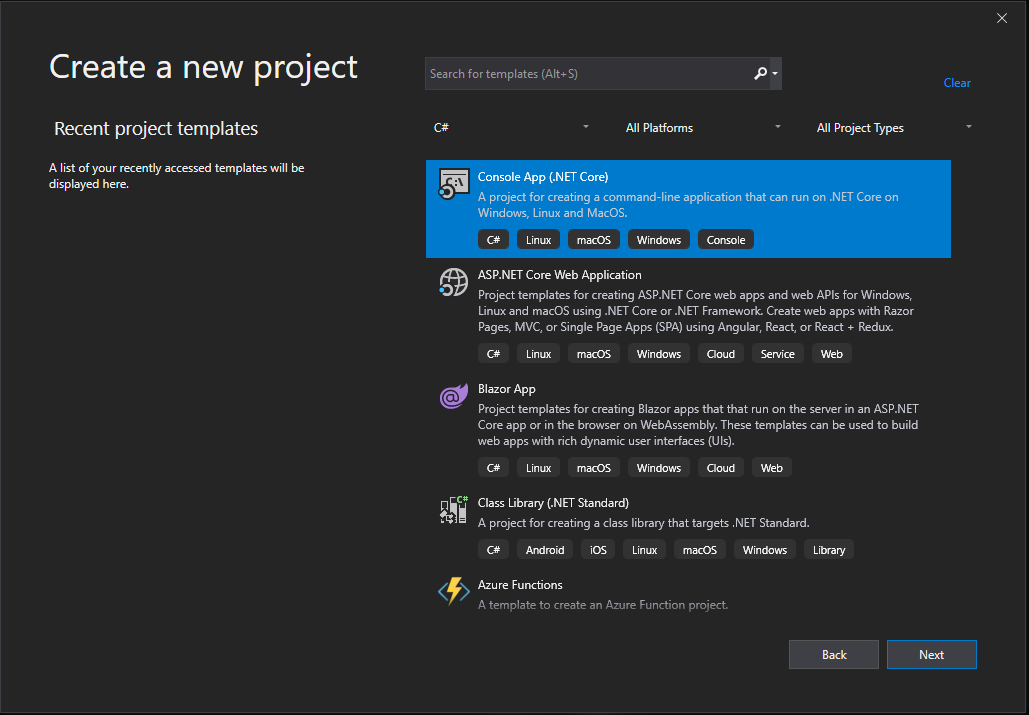
From here, select “Create a new project” for Windows users or “New” for MacOS users. On the next screen you will be able to choose between many different types of projects. For this example we will need to choose C# Console App.
After that click next, give your project a name and finish by clicking “create”.
You will now end up with some automatically generated code which looks like this:
1 | using System; |
Actually we’re done - we’ve just finished making our “Hello World!” application. You can run the program by clicking on the Debug menu(Run menu on MacOS) and selecting Start Debugging or alternatively you can hit F5 on the keyboard.
Previously, the console applications would close their window upon completion, to change this you can use a little “hack” - add Console.ReadLine(); right beneath the Console.WriteLine. This will make the program wait for user input and will not close the windows, since it hasn’t completed yet. Once this is done your final code should look like this:
1 | using System; |
On the latest version of Visual Studio, this is already taken care of, so you don’t need to add the Console.ReadLine(); code.
With this, the tutorial of creating a ‘Hello World’ application using C#.NET is finished. I will be posting more C# tutorials in the future.
I hope this article was of some help to you beginner coders out there. Please feel free to leave your comments below.
Comments